


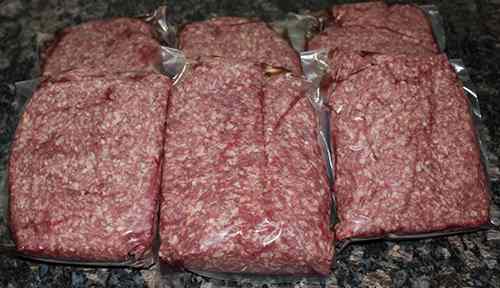
July 4th is famous for the juicy fresh off the grill hamburgers. After an emergency or unplanned event, it is important for the morale of all to still have access to traditional comfort foods even in times of difficulty, if possible. Integrating home canned hamburger into your long-term stock of emergency food will ensure a home-grown holiday’s basic comforts are safe at hand.
Home canned hamburger meat can be a great addition to your long-term food storage, it can add protein and flavor to your meals without freezing. Canned ground beef can last for 3 to 5 years without quality deterioration, and can be edible even longer. The meat is precooked and, in an emergency, can be opened and eaten straight out of the can, or heated and consumed as part of a fast daily meal.
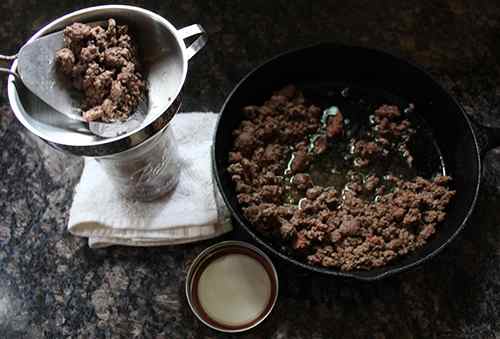
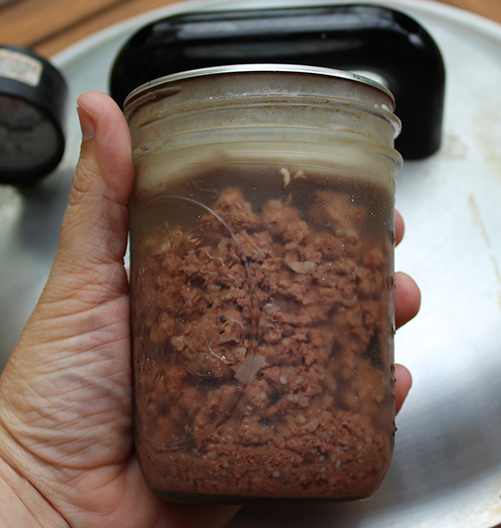
You also have a layer of juicy beef fat to fry, beef stock for a soup or stew, and ground hamburger meat for use in just about anything that includes ground beef such as tacos or pasta sauce. Since the beef is stored in beef broth, it is suitable for use in a dish that can combine both meat and broth, such as chili.
Ground beef can be canned as crumbles or hamburger brown patties. Hamburger patties are more flexible, as they can be completely removed and served as burgers, or crumbled when used.
Related: 12 Long Shelf Life Foods You Should Know About
Keep in mind that full hamburger patties sometimes don’t hold well together in the canning process, so as a whole patty, you can have trouble separating them from the container. When you are trying to get a full shelf stable hamburger to cook up on the grill, play with various grinds and sizes of hamburgers to find a process that works for you.
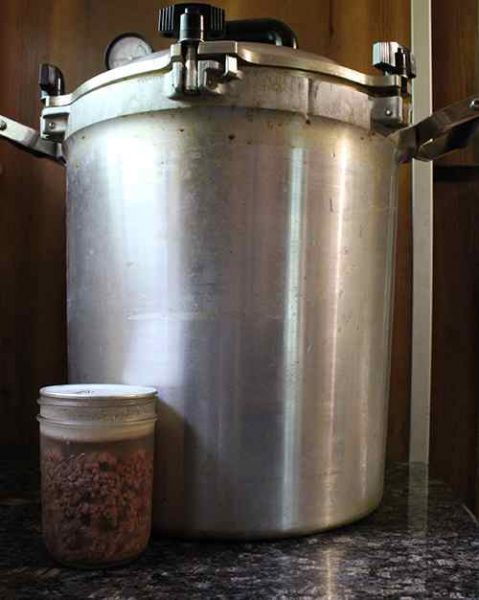
Canning meat from hamburgers, as with any meat product canning, requires a pressure-canner. Never can meat or recipes using meat with the water bath canning method.
How to Pressure-Can Hamburger Meat
Canning Pressure: 10 lbs under 1000 ft elevation (See notes for high elevation)
Head-space: 1 inch
Processing Time: Pints – 75 minutes; Quarts – 90 minutes
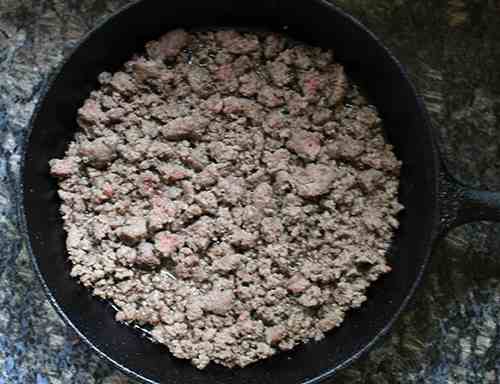
Begin by browning the meat in a pan with a little oil or fat of your choosing, in small batches. Although the meat may be packed into raw jars, the flavor and texture will be greatly improved by fast browning. A 10-inch cast iron can brown 1 pound of meat comfortably in 2-3 minutes, therefore work in lots until all meat is lightly browned. A little raw is still ideal, so it doesn’t toughen as it cooks absolutely in the canning process.
Spice the meat with salt and spices to taste, but avoid using any ingredients that contain a starch or binder such as flour, egg, or crumbs for bread. Such ingredients can affect the canning cycle and can not be used.
A pint jar can contain 3/4 to 1 pound of canned meat, and a quarter holds between 1.5 and 2 pounds of meat. Try to have enough meat on hand to fill up your pressure-canner completely, as a full batch can be much more effective.
Add water to your pressure-canner and bring the water to a boil. Generally, instructions say add about 2 inches of water to the bottom, but depending on your canner model, this can differ.
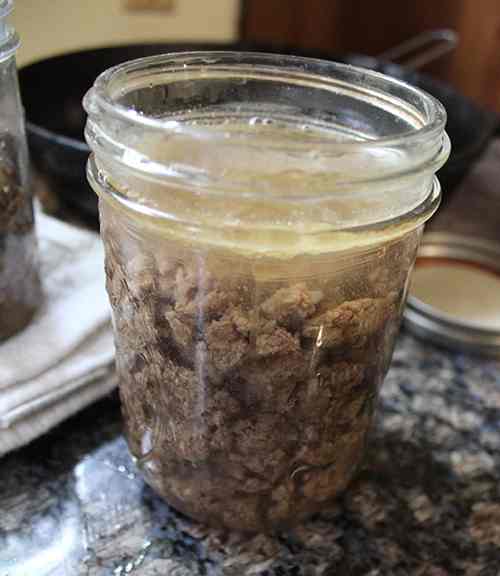
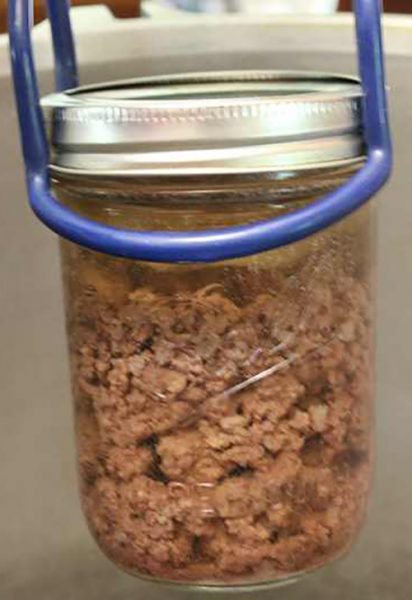
Pack the browned meat into canning jars, pints or quarts, leave 1 inch under the rim of the mouth. Fill the jars with a boiling stock or water, still leaving 1 inch of headspace.
Cover the jars and add a canning ring to each container with clean, fresh canning lids. The canning ring should be “finger tight.” If the ring is too lose, you’ll lose fluid into the canner and have partially filled jars, if the lid is too tight air can’t escape and the jars have a small risk of braking in the canner. Ideally, set the container on the counter and close the lid as tight as it will go with one hand.
Once the band is tight enough for the jar itself to start spinning without keeping it by the other hand, that’s called “finger tight.” That part sounds scary, but really, there’s a wide range that’s acceptable, just don’t crank them too tight.
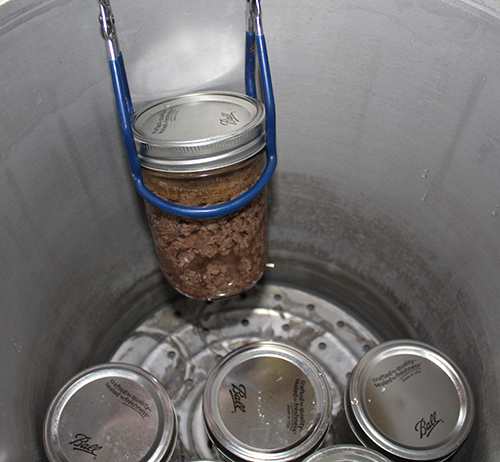
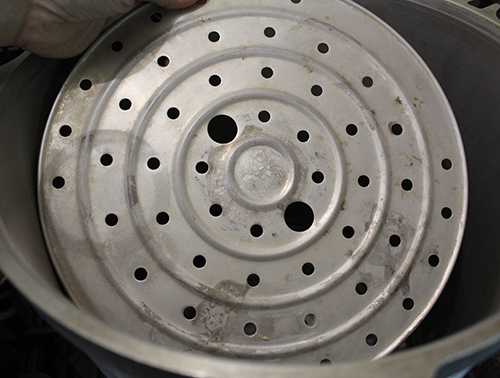
Arrange the jars according to the instructions in your press-canner. If you have a big double-decker pressure-canner, be sure to install the divider between the layers and arrange the jars in such a way that they are not directly on top.
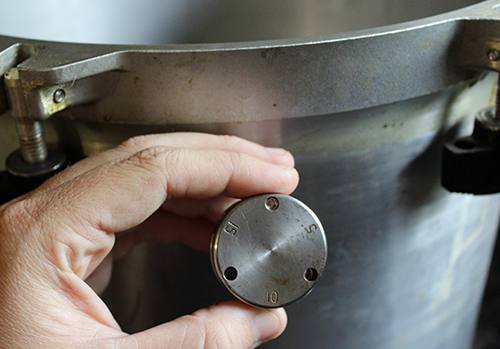
Seal the canner lid and for a weighted gauge canner, allow steam to escape from the valve for 7-10 minutes before adding the weighted pressure gauge. Use 10 pounds of pressure with a weighted gauge, or be sure to keep a dial pressure canner at or just above 11 pounds of pressure.
Once the canner is up to pressure, begin timing. Process for 75 minutes for pint jars and 90 minutes for quarts.
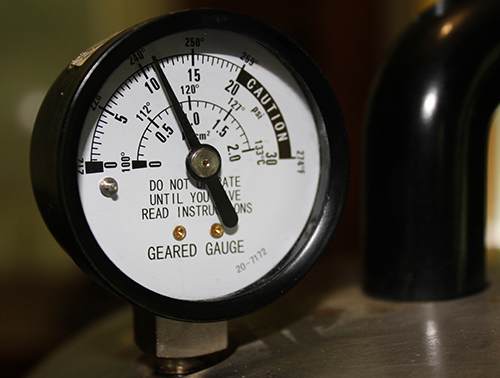
Switch off the heat when the drying time is done and keep the canner in place until it gets back down to 0 pounds of pressure. Disable the weighted scale until it’s at 0 pounds to allow the last bit of steam to escape before unwinding the seal.
Remove the jars and allow to cool before storing to room temperature.
Make sure the canning rings are removed. Canning rings are only required during the canning process and the canning lid should remain sealed after the jars have cooled the vacuum from the seal itself. Leaving rings in storage on jars will cause the rings to rust shut.
Notes: Although many pressure-canners can handle a half gallon jar, the USDA does not allow canned meat in half gallon jars and does not have timetables for canning.
While some sites online will provide you directions without using water or stock for “dry canned” hamburger meat, this is not an official process and does not guarantee food health.
Over 1000 feet of elevation, canning pressure increases at high altitude to make up for lower atmospheric pressure.
For high elevation pressure canning instructions; see in the All American Pressure Canning Instruction Manual.


