


These days we have so much information at our disposal that we sometimes fail to tap into a great source of wisdom that has always been before us – our grandparents. And the real art of making the best meals and memories is still put aside, unfortunately, with all the latest trends in meals and recreations.
My grandparents have long since passed. Yet, while I have several good memories of my grandmothers in and out of the kitchen, I regret not paying any more attention and taking more notes on what they were doing.
My grandmother, for example, was well-known for her pies in our neighborhood, but she passed away without any of us securing her recipes, probably because she never wrote them down.
All grandmas, however, have done their share of canning and storing fresh food to store for future use. In those days, it was done out of necessity, as they lived through the deep depression. They would never let anything go to waste, and would want to be able to provide their families with decent and safe food throughout the year.
Luckily, I still have my mother who has lived that lifestyle on a regular basis – so I’m tapping into her wisdom. Canning and preserving may not be a requirement right now, but it is an art that can also provide your family with the same goodness and safe eating year-round.
Canning and drying foods is a way to preserve some of your recipes as well as create bonding moments and memories between older generations and younger ones.
Drying Favorite Foods
Drying is one way to preserve all types of foods. Both fruits, vegetables, meats and herbs can be dried and stored with a long shelf life, making it a great option for farmers, preppers, campers or anyone who needs a way to enter their garden metaphorically, any time of the year.
It is also a healthy and easy option for gardeners or someone else who has a surplus of food that they do not want to waste.
In this article I will concentrate on dried plums, something I look forward to having as a snack during the year, or a safe addition to a variety of dishes. I’m going to think about how to dry them, and how to store them just like grandma did.
What You Will Need
The supply list for making your own batch of dried plums doesn’t get much shorter. Here is what you will need:
- Plums
- Oven or dehydrator
- Airtight Container
That’s it; a very inexpensive and short list for getting a batch of tasty dried plums in just a few hours.
Drying Plums
Even though it is a bit more complex than the supply list, it is still a very simple process. But be sure to consult with grandma, just in case she has any more useful unwritten hints that only a grandma seems to know about!
While plums are available in several regions, seasons will decide how easy it is to find them when you want to. In reality, winter months may be a hard time finding fresh plums in colder areas, which is all the more reason to have dried plums on hand.
Look for plums that have a taut skin when selecting plums for the dehydration process, and are ripe to the point of yielding only slightly when applying pressure. It’ll be hard to extract the pit if the plum is too soft, and slicing could leave you with a mushy texture.
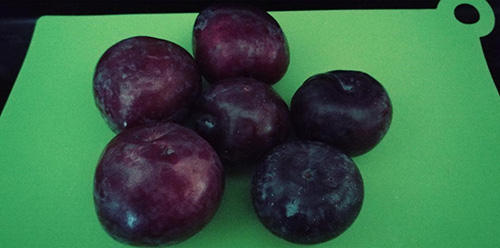
Varieties such as freestone plums tend to be easier to work with because the skin will pull away easier than other varieties, such as cling stone.
Related: How To Make Kale Chips From Dehydrated Kale
Preparing the Plums
It’s not a difficult process, but each step listed here is important and necessary. So, make sure to follow the directions and not skip any steps.
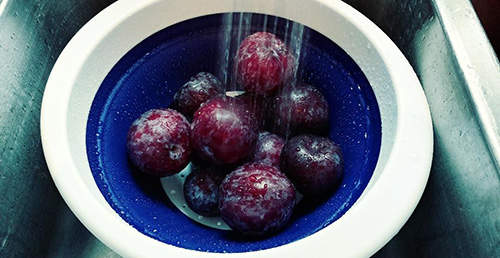
1. The first step is washing the plums, and removing all stems or remnants.
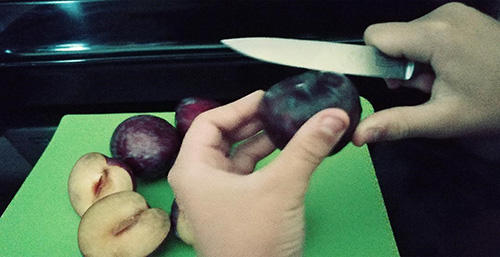
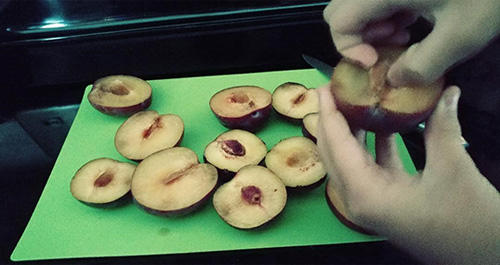
2. Using a knife, cut the plum in half by cutting down to the pit, going around the circumference of the plum.
3. With two hands on the plum, gently twist the plum with each hand going in the opposite direction, until it opens to 2 halves.
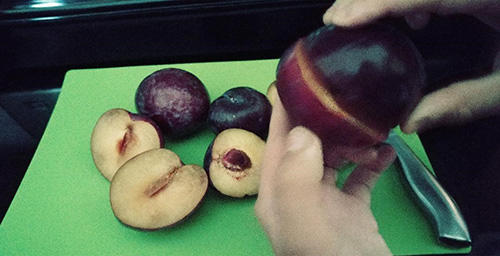
4. Remove the pit. If it doesn’t come out right away, you can use the tip of the knife to edge it out.
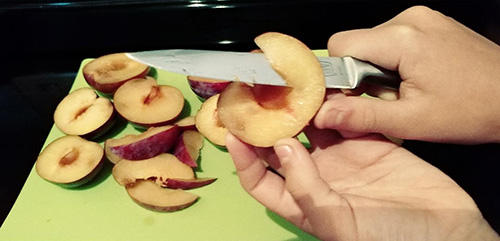
5. Slice the plums to your desired size. They can be dried in halves, quartered, or chunked.
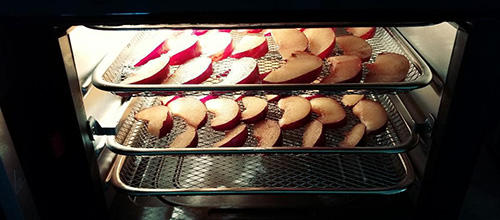
6. Layer the pieces on a rack, and place in the oven or dehydrator set on 135 degrees. See the timing suggestions in the “Drying Methods” section.
Drying Methods
When it comes to the drying process there are three options to choose from, and your choice will depend on what you have available to use.
1. Convection Oven or Dehydrator
Turn the oven or dehydrator up to 135 degrees. If drying halves or quarters position the pieces on a tray or rack, starting with the cut side facing up. After the cut side no longer looks moist, flip the pieces to expose the other side.
Timing depends on how you sliced the plums. Quarters, chunks, or slices typically take anywhere from 8 to 12 hours, halves 12 to 18 hours, and whole plums could take up to 36 hours.
2. Conventional Oven
With a conventional oven halves and whole plums are not recommended, because it takes much longer than convection ovens.
Turn the oven to 135 degrees, and place the pieces on a tray or screen. The pieces should be rearranged every few hours during the drying process, which could take anywhere from 8 to 18 hours.
3. Sun-drying
For those of you who live in sunny areas you might consider the sun-drying process. It’s done in the same manner as in the ovens, but takes much longer. Quarters, chunks, or slices will probably take 2 to 3 days, halves taking 3 to 4 days, and whole plums taking up to 5 days.
Note: some electric ovens will not allow going as low as 135 degrees. Mine doesn’t, so I used a dehydrator instead.
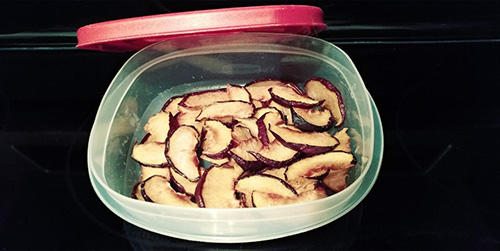
You will know they are done when they feel somewhat springy to the touch, and show no signs of moisture in the thickest part. Also, they will be darker than fresh plums, including the skins.
How to Use Dried Plums
Dried plums provide a sweet-tart flavor, and the texture is chewy. You can enjoy them as is for a snack, or add them to a recipe, and use them to replace prunes in some recipes.
They might also be rehydrated by using a hot-soak in water, completely covered by about an inch, for up to 2 hours. Or, you could also use a cold-soak overnight.
The shelf life for dried plums depends on how they are stored. The following is a guide:
- Pantry – 6 to 12 months
- Refrigerated – 1 to 2 years
- Freezer – Indefinite
Whatever method you prefer to store your dried plums, make sure they are in an airtight container.
Don’t let this tasty treat stop with your generation. Pass it on to the next!


