


First off, you’re probably curious what portable soup is like. It’s basically a dried and solidified broth for easier transport, preservation and portability. It’s got one lot of flavor packed in a tiny box. Many names in it have named it, like pocket soup or veal glue. It’s kind of like a handmade, old-fashioned version of the bouillon cubes you might find at today’s supermarket.
What Is Portable Soup Used For?
Portable soup has a long history, starting in the 17th century, with the first recipes for it.
In the 18th century, it was quite popular because it did not require any preservation, and it was light and easy to pack. It has been used as a portable traveling food source, even on big and popular expeditions. On their famous expedition, Lewis and Clark packed portable soups in their food stores to chart the U.S. It was also used as food for the invalids or others who had to be on a liquid diet, as there were much fewer options at that time to keep those people nourished.
Because it had to be cooked over an open fire, a much less accurate heat method than we have at our disposal today, it wasn’t easy to make portable soup until electricity arrived. This meant it had to be watched constantly, to keep the heat steady and to prevent burning or scorching. A slow cooker nowadays, means the broth temperature can be controlled easily.
Related: Depression Recipes – Simple Meal Ideas for Hard Times
How Do You Make It?
If you would like to make your own portable soup, here’s how you can do it with a more modern twist. Remember that you can substitute the beef shank roast with another high-collagen meat cut such as the neck or you may even choose to make portable chicken soup using a whole chicken.
What You’ll Need
Here’s what you’ll need to cook this recipe up in your kitchen.
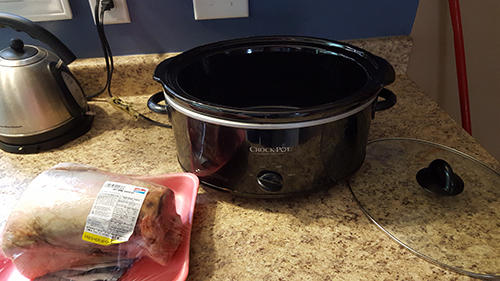
- 5 lb beef shank roast
- Water
- Medium slow cooker
- Cheesecloth
- Large bowl for short-term storage of broth
- Cooling rack
- Small electric fan
Portable Soup Directions
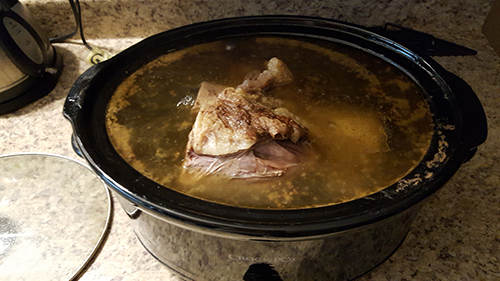
- Make a bone broth – Place the roast in slow cooker and fill the slow cooker with water. Turn it on low and cook for eight to ten hours with the lid on. Mostly, you’ll want to leave it alone to cook, but make sure that the meat stays covered with water. Add more if the water level starts to get low.

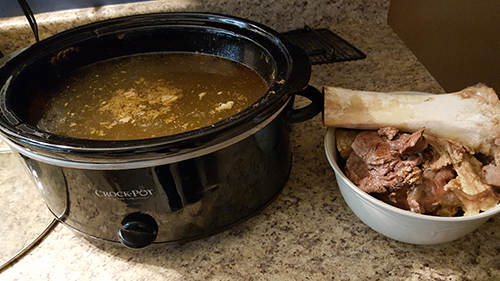
- Remove the solids – Pull the meat and bone out of the slow cooker and set aside. The bone should probably be trashed; but the meat can be used in another dish.
- Let the cooker cool – Let the slow cooker cool completely. This will allow the fat to set on top of the top of the broth for easy removal.
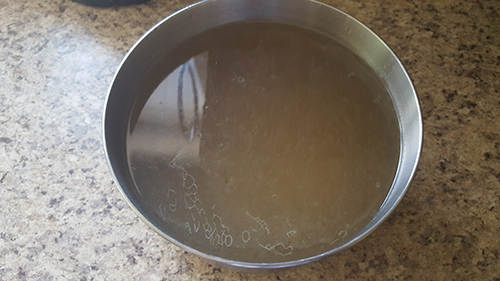
- Strain the broth – Pour the cooled broth from the slow cooker through a piece of fine grade cheesecloth into another container. A large bowl will do nicely.
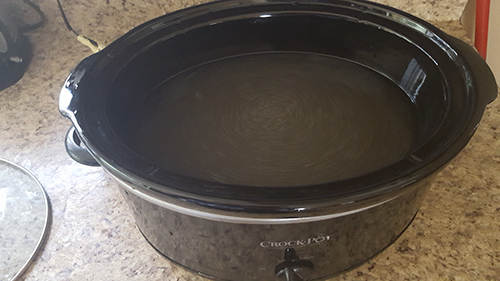
- Clean the slow cooker – Give the slow cooker a good wash to make sure none of the fat and solids you’ve up until now, worked so hard to get rid of, don’t make it into the final broth. Those things could make the portable soup susceptible to going bad.
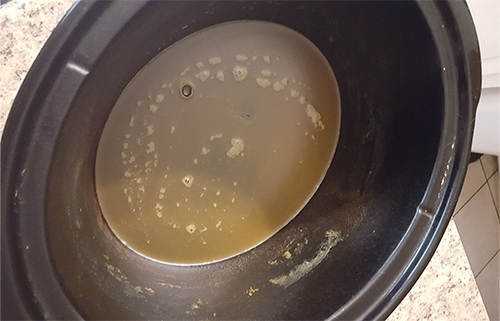
- Reduce broth – Pour the broth back into the slow cooker and turn it on low for 24-72 hours with the broth uncovered. This will reduce the liquid from the broth, until there’s about ½ inch left in the bottom of the slow cooker. When it’s finished, it should look like a lot like prepared gelatin. Towards the end of this time period, be sure you keep a close eye on your portable soup to prevent burning. Burnt portable soup is disgusting enough to not be edible, apparently.
- Let cooker cool again – Once again, let the cooker cool completely.
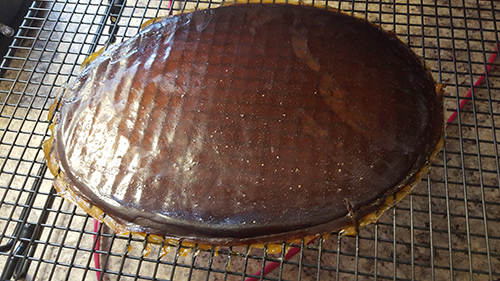
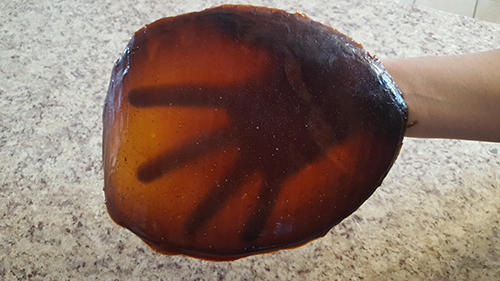
- Dry gelatinous soup – Peel the gelatinous reduced broth out of the bottom of the cooled slow cooker. Place it on an ordinary kitchen cooling rack and place an electric fan in front of the jellied broth on high. Leave it until it’s completely dried out. This should take a few days, but could take up to a week depending on the moisture level in your home. You’ll want to carry out the drying in a place that will be relatively undisturbed where dust and debris are unlikely to land on the broth. It would be tempting to toss this gelatin-like blob into the oven to dry it out; but that will absolutely burn it. Many dehydrators are even out of the question since they utilize low heat to remove the moisture from food. If you don’t desire to use a fan, you can place the reduced broth on a clean, tightly woven cloth and turn it several times a day for a week or so until it’s completely dry.
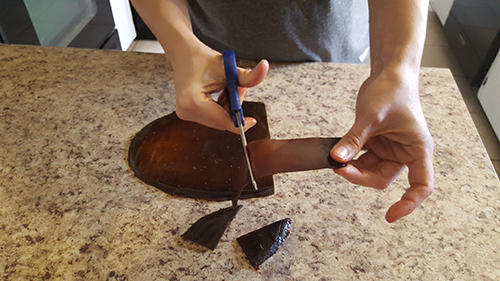
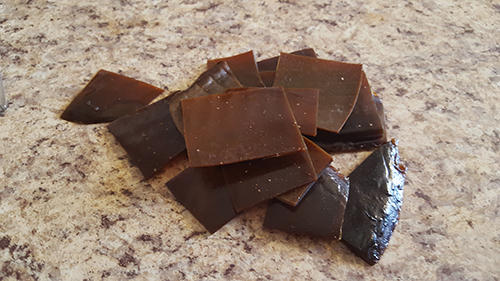
- Break into pieces – You’ll want to cut the portable soup into chunks that measure about one square inch. Regular (clean) scissors work great for this.
 Many dehydrators are even out of the question since they utilize low heat to remove the moisture from food. If you don’t desire to use a fan, you can place the reduced broth on a clean, tightly woven cloth and turn it several times a day for a week or so until it’s completely dry.
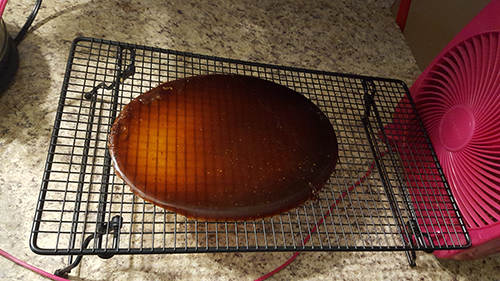
Cover it in parchment paper or cheesecloth, put it in an airtight container or hold it in a plastic bag in the refrigerator. Under favorable conditions, it can be kept up to six months.
What Do You Do with Portable Soup?
It’s important to remember that this is a very simple portable soup recipe and will act in and of itself more like a soup base than a meal. You’ll probably want to add some herbs, spices, greens, vegetables or at the very least, a little salt to make it appetizing.
In an emergency situation where you needed a post-hasty energy boost, you could only put a small piece of portable soup in your mouth and let it melt but that would be pretty gross. Alternatively, boil a piece of soup with whatever other soup ingredients are handy in water until it is fully dissolved.
The Final Word on Portable Soup for Survival
You might suggest cooking up a few batches of portable soup to add to your survival storage. It will provide you with portable and lightweight nourishment in a SHTF situation which would make it ideal for bolstering your stores without taking up a lot of space or adding your bug-out kit.


")


