


While it is important to know how to generate or obtain clean water in an emergency situation, canning water is often ignored. Not that it should be. Of course, bottled water is easy to get through and it’s pretty inexpensive to buy, but not everyone is persuaded that long-term storage in plastic containers is absolutely healthy and some are not crazy about the environmental aspect either.
Put Empty Jars to Good Use!
There’s also the fact that many preppers are able to use an amazing stock of bottles, so why not keep them filled with water? It takes up no extra room and if you need the bottle, you can just use the jar!
If supplies are cut, you simply can not have too much clean water to drink. You also need water for sanitation, dried food rehydration, cooking and cleaning, in addition to the ration of 1 gallon of water per person per day, which should be considered the absolute minimum.
Often it is said that canned water can taste a little ‘soft.’ Fair enough, but by removing the cap, pouring out a little water, and giving the container a good shake, this can be easily remedied. Another way to aerate the water is to quickly pour it into a clean container, and then return it to its original container a few times before drinking.
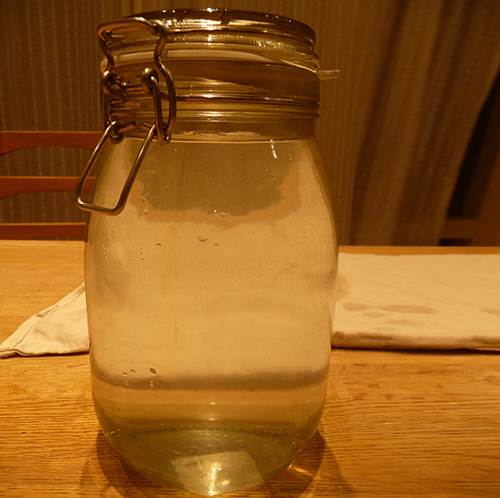
Here’s what you need:
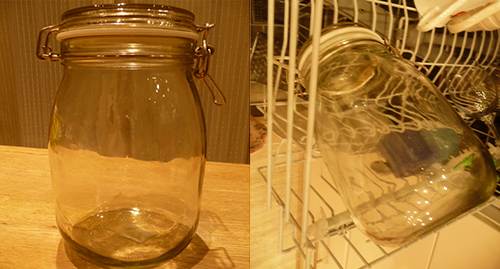
Jars!
As many as you would need to fill in and store. Don’t think too much if the mayonnaise-type jars are reused either. Though preserving jars with sealing rings are the touchstone, so long as you get a good seal for water canning, then you’re fine.
To fill the jars, you also need water, your canner, or stockpot, and a ladle or jug.
Related: 5 Water Storage Myths
Method:
- Thoroughly clean those jars, then run through the dishwasher’s hot cycle if you have one, use the jars while still hot. Otherwise, heat the jars up in a hot oven to about 175 degrees.

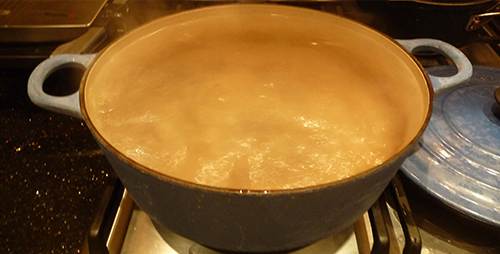
- In the meantime, take your largest stockpot, canner, or casserole and boil some water to fill the jars. You know the number of jars you need to fill, so work accordingly.
- When the water begins to boil, prepare a safe place to store the filled jars until they have cooled down by spreading a double-thickness tea towel or cloth somewhere they won’t get knocked over (they will initially be put upside down).
- Keep the water on a rolling boil for 10 minutes, topping up the water level a little if necessary.
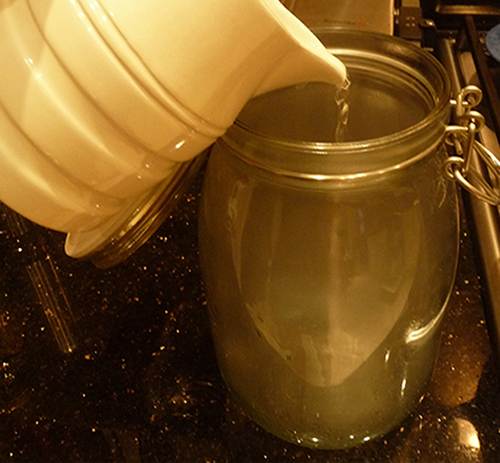
- Working with the hot jars, one at a time, keeping the rest warm in the oven or dishwasher, fill each one with boiling water to around ½ inch below the rim, using a ladle or jug.
- Taking good care not to burn or scald yourself, and using thick rubber gloves if it helps, screw the lids back on or reseal and place upside down, on your prepared cloth, and leave until completely cool.
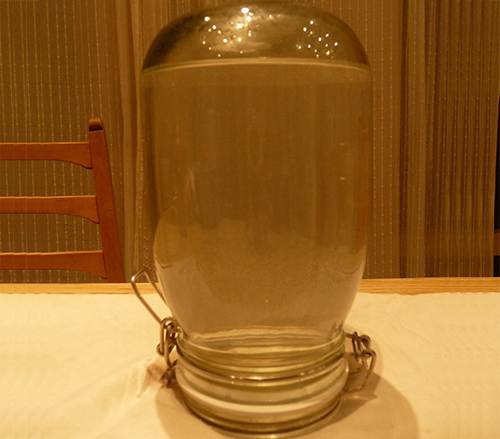
- Once cool, turn the jars the right way again, and check that the lids have sealed nicely. If you’ve used metal, reusable-type lids, you can check if you have a good seal by trying to ‘pop’ the center of the lid. If it stays solid, it’s sealed. If it ‘pops’ in and out, then use the water straight away and start again.

Shelf Life and Storage
Many people add a small amount of salt , sugar or even a drop of bleach to the water to ensure a long shelf life.
A good habit to get into is to make up a few jars of water if you use your canner for other purposes, then simply add them to your stock.
Canned water, if stored in a cool, dark spot, will last for 6 months to a year (arguably even longer). Do not store in direct sunlight like with most canned items. Mark the date you canned it up with the jar and enjoy knowing you’ve just made a genuinely canny addition to your stores!


 Survival Uses of Tallow")


