


Our great-grandparents knew all about canning chicken. Preserving game and surplus meat for the leaner months or for your prepping stocks is a strategy worth grasping on.
Water Bath or Pressure Canner?
First, it is worth remembering that chicken was canned without pressure canners by many of our ancestors, using a crockpot and a rolling boil. Chicken is a low acid food, and we know it carries a chance of botulism by canning it this way. Why? Well, simply because a normal water bath system can’t reproduce the temperatures required to kill any spores.
On the other hand, generally our grandparents lived to tell the tale, but in the end it’s your call. If you have a pressure cooker or canner, follow the instructions to the end of Step 3, then review the manufacturer’s directions on how to cook the jars and take a look at USDA processing times on home canning meats at various altitudes to see what’s relevant to you.
Related: Water Bath Canning a Pasta Sauce
It’s also worth taking your time and making doubly sure that everything is scrupulously clean.
You’ll need:
- Fresh chicken
- Salt
- Jars with lids/seals suitable for preserving at high temperatures
Step 1
Sterilize your jars by putting them in the dishwasher in a hot cycle, or clean them by hand in very hot water with detergent, and dry them in the oven. Use jars while still hot. If a pressure canner will be used, then the jars and lids have to be fully clean, but not necessarily sterilized.
Step 2
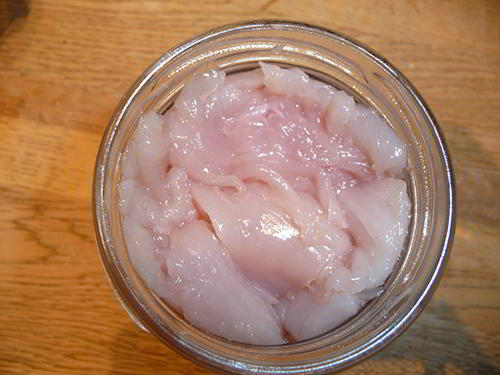
Chop the chicken into pieces of about 1 inch, remove any fatty parts and use only the lean white meat for canning. The carcass may be cooked for storage and the remaining meat may be removed for later use.

Step 3
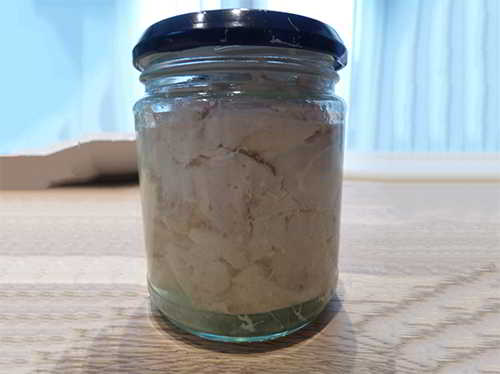
Pack the lean chicken pieces into ½ pint jars; pressing lightly and filling to within ¾ inch of the top of the jar, adding a very small amount of salt between layers.
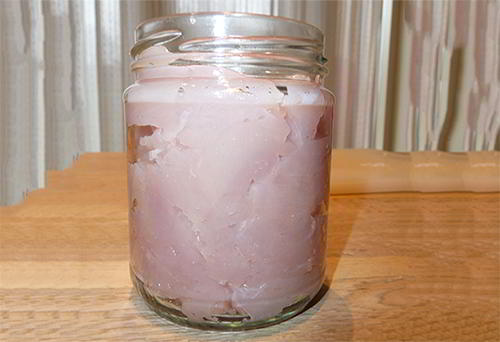
You don’t need to add any liquid, the chicken will produce its own broth during the canning process.
Step 4
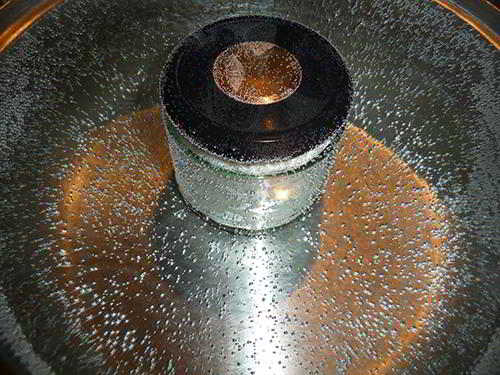
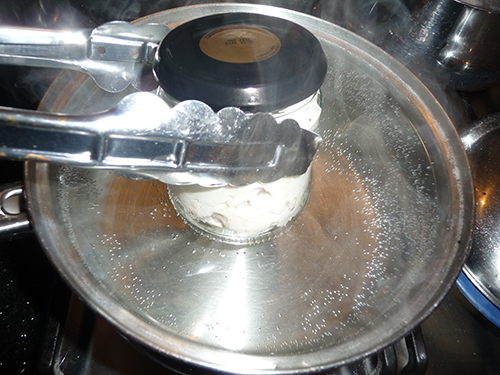
Place into a stockpot deep enough to submerge the jars entirely, and fill with water. Remember that if a pressure canner is being used, the jars don’t normally need to be submerged. Bring to boil, cover and hold for two – three hours on a rolling simmer (a pressure canner may take less time), top up the water if necessary.
Step 5
Carefully remove the bottles and make sure the seal is intact. The contents of any jars not having an intact seal should be used immediately, refrigerated or frozen for up to 3 days.
Step 6
Chicken canned according to the water bath method should have a shelf life of 6 – 12 months when stored in a cool place, out of direct sunlight and preferably in a dark store. If you process the jars in a pressure canner, then you can look forward to a safe shelf life of up to two years or beyond when stored properly. Be sure to mark up your jars clearly with the date that the chicken was canned.
Related: Canning Tips for Beginners
Canning Caution
Whether you’re using a crockpot or a pressure canner, when it comes to eating your supplies, remove any jars with a bulging lid, signs of discoloration, a bad odor or that doesn’t have the vacuum-packed whoosh when it eventually opens. Many people want to thoroughly reheat the meat before consuming as a further precaution.
Most still practice canning meat in a water bath, but there is no getting away from the fact that it should come with a warning for health: note that botulism is odorless, tasteless and potentially deadly!
If you want to use a pressure canner to bottle your chucks, then make sure that the procedure you are following is as safe as possible. In the end, it is your call, chicken lovers!


