


Today I’m going to show you how to make a hydrogen generator. Its design is simple, and it could definitely be helpful when SHTF. Of course, the version I’m going to build today is really just to give you an idea that you can improve upon. Let’s get started!
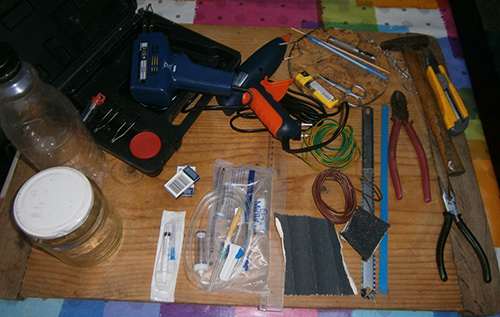
First, you’ll need to gather all the materials we will be using:
- A bottle
- A jar
- A soldering gun, solder, and soldering paste
- A glue gun
- Razor blades
- A needle
- IV tubing
- Wire
- A pencil
- A leather hole punch tool
- Scissors
- A ruler
- Sandpaper
- A lighter
- A kebab stick
- A hammer
- A box cutter
- Pliers

Step One: Cleaning Off and Soldering the Razor Blades
Grab the razors and the sandpaper. Start rubbing gently but firmly against both sides of the razors, making sure to clean them well. You will need to scrape off the top layer so that the solder will stick to it.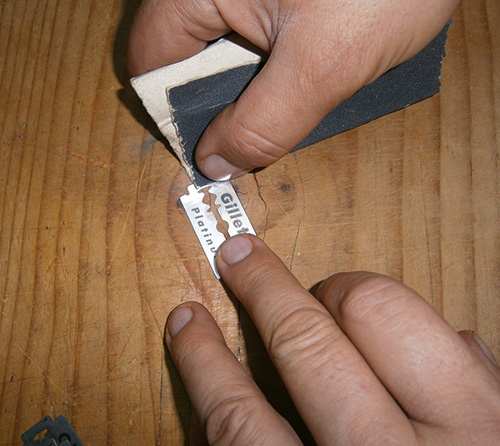
It should look something like this when you’re done.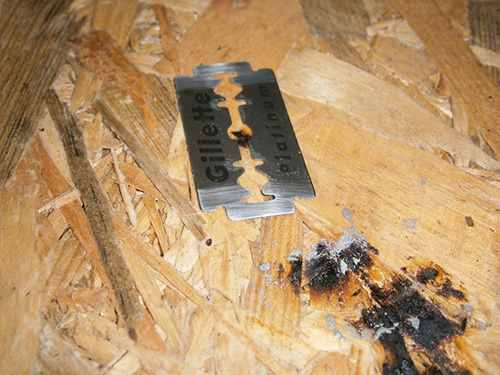
Cover both sides of the newly cleaned razors with soldering paste.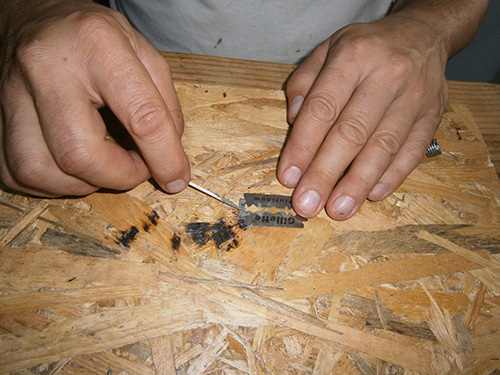
Using your solder gun and solder, put a line of solder onto the razor blades.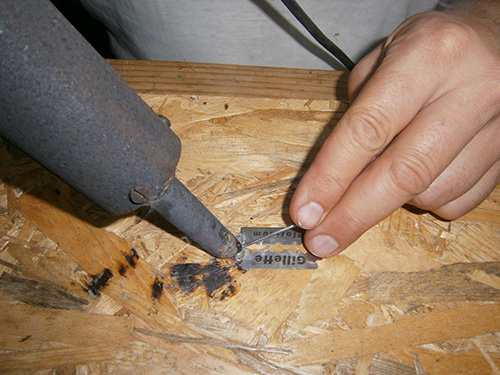
You don’t need to place too much; it’s only there to make soldering the wires to it easier. Do this same process with nine more to get ten in total.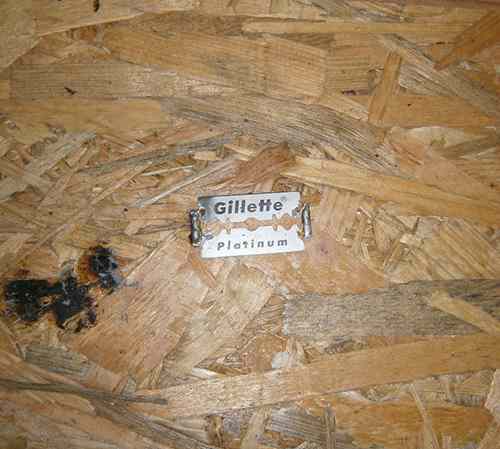
Step Two: Connecting the Razors
First grab the box cutter and the wires, cutting them up into 1.5-inch pieces.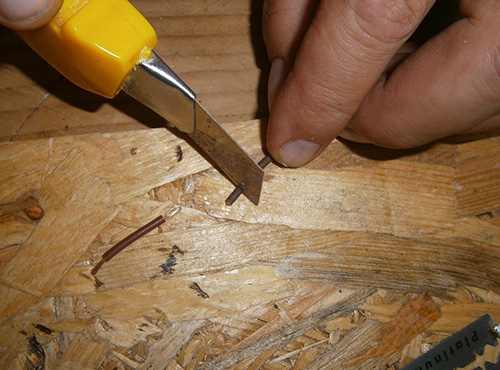
Next place some solder onto the wire with the soldering gun.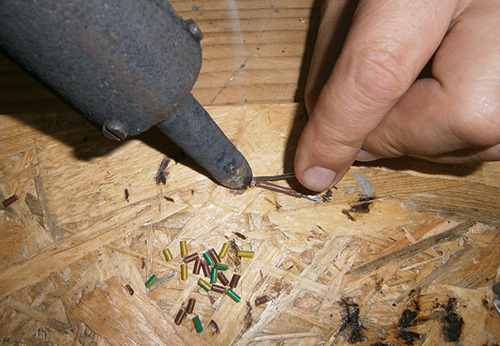
Grab the ruler and cut some lines into it at every 0.15 inches, placing the razor blades onto them and securing them together with the glue from the glue gun. Finally, cut the ruler shorter so it will be able to fit into the jar.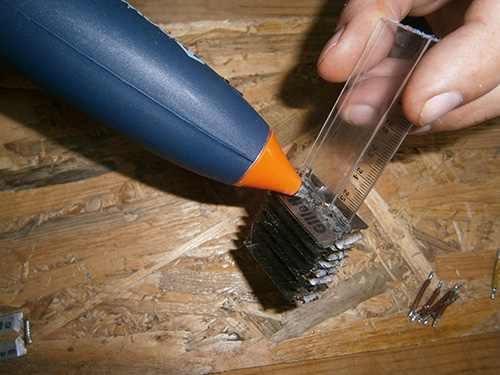
Place all 10 onto the ruler, following the same idea.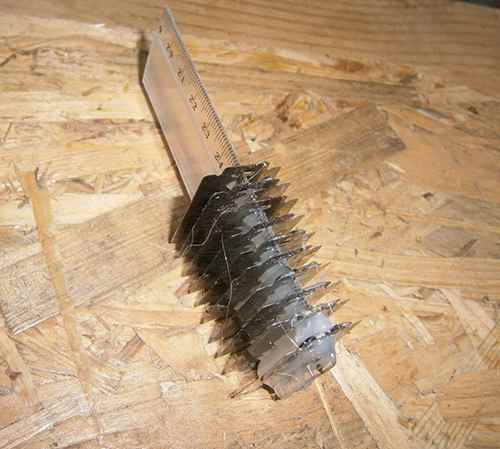
Bend the small soldered wire pieces so they can connect the razor blades together. After that, connect them to the blades using the solder on both the razor blade and the wires. Make sure to create two-wire lines (for me, the red was the positive side, and the yellow was the negative), one connecting to every second blade and one connecting to every first.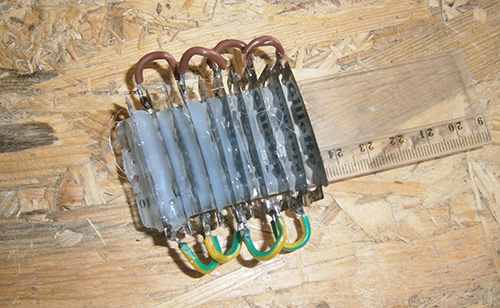
Finally, solder separate pieces of wire onto the two wires, and connect them based on the colors (in my case, red goes with red, and yellow with yellow). Using the glue gun, attach them to the ruler.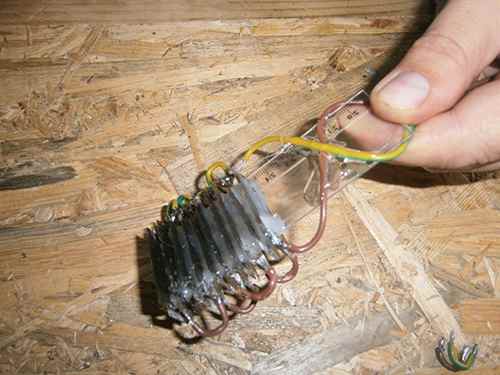
Step Three: Connecting Everything
Cut the IV tubing at the drip chamber, cutting the side that connects to your hand and leaving the side that connects to the IV bag. I used a straight saw blade from a hand saw, but you can cut it with anything.
Drill a hole into it with a size of 0.4 inches. I used a wood drill bit to drill it out, but you can use anything.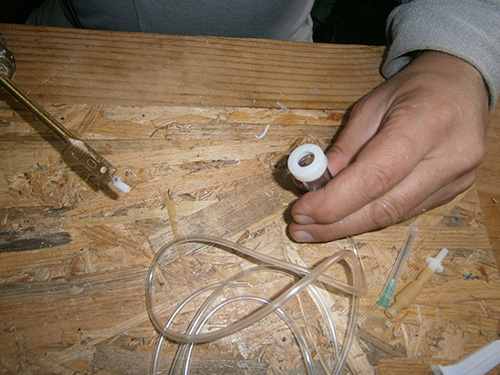
Grab the lid of the jar, and cut a hole into it that’s the same size as the drip chamber so it can fit through it.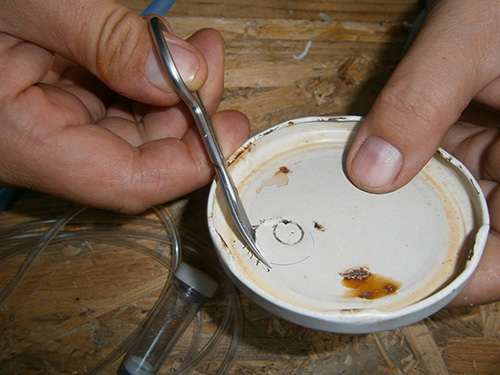
Create two more holes that will allow the wires to come out.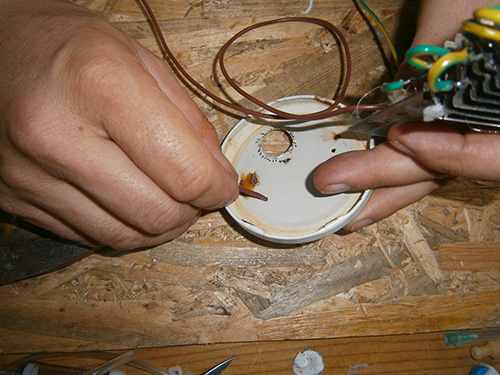
Glue the razor blade ruler to the bottom of the lid, behind the hole for the drip chamber.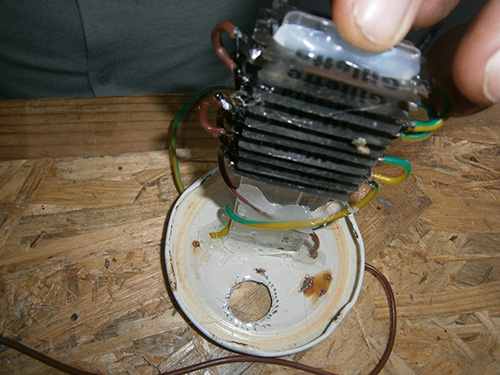
Glue the drip chamber onto the hole that was made for it so that the hole made on it earlier faces downward.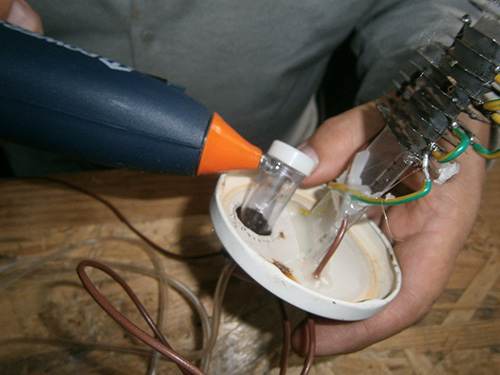
Cut the tubing into a size suitable for you; mine was a little longer than I needed, so I shortened it.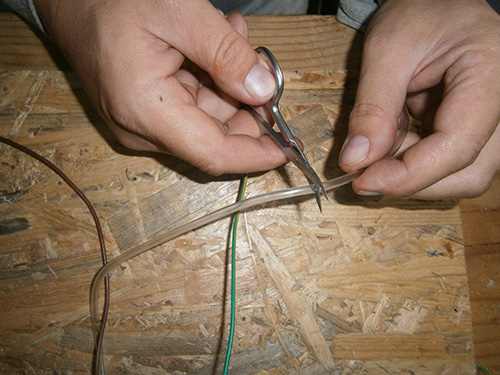
Using the leather punch tool, punch a hole into the middle of the bottle cap.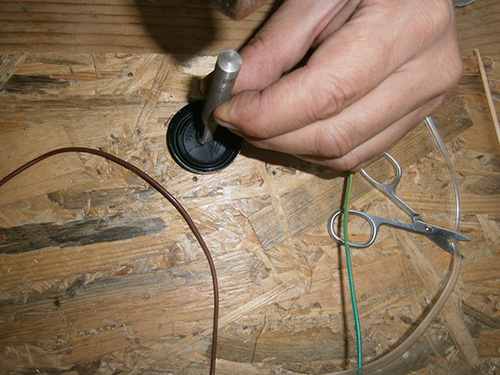
Glue the kebab stick to the end of the tube. This will give the tubing more stability and will stop it from curling upward while underwater.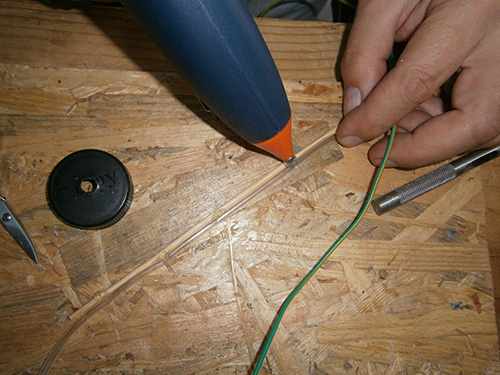
Next, grab the tube you worked on and the tube you cut off of the drip chamber. With the help of glue, connect the two pipes and the bottle cap together, pushing the one with the stick through so it lands at the bottom of the bottle while keeping the other at the top.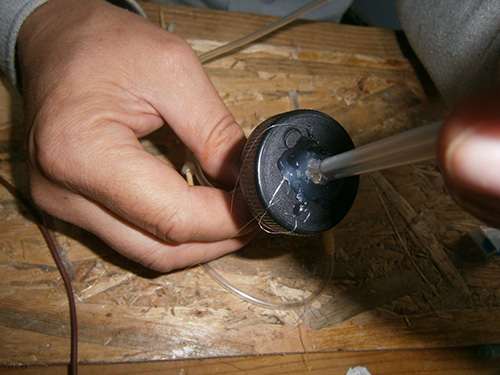
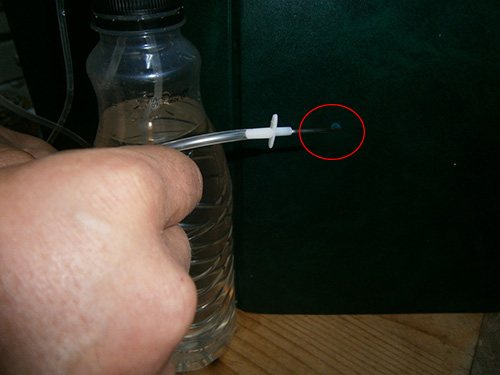
Place the needle at the end of the other tube.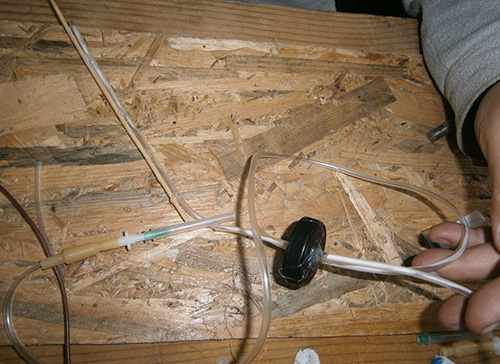
Now all you need to do is connect everything.
Fill both the jar and the bottle with water. Place the bottle cap on top of the bottle, and place the jar cap on the jar. Put a few tablespoons of salt into the jar; this helps to speed up the process.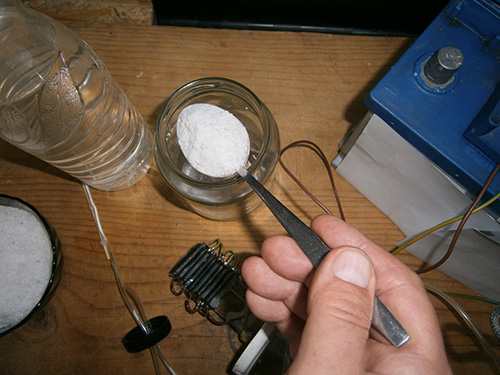
To make the system work, you need, of course, some electricity. Using too much could fry the whole system while using too little will cause the generator to not provide up to its full potential. The ideal amount is 5–12 volts and around two amps. The best thing to use for this system is a simple phone charger.
Now let’s try it out. The concept relies on simple chemistry, more specifically, electrolysis. Because of this, the water inside the jar starts to bubble out. The drip chamber collects all the hydrogen and then delivers it to the bottle, where it runs through the water and travels out of the syringe.
Hope you enjoyed making your own hydrogen generator.


