


They usually imagine the unnaturally spherical, molasses flavored, and oddly textured store bought version when someone thinks of bread in a can. But making bread in a can at home yields a much different result: fresh, great, environmentally and economically friendly tasting bread. Bread making seems to be a lost art form – it’s something that’s so readily available in a grocery store and yet it only takes a few ingredients and a bit of time to make it homemade.

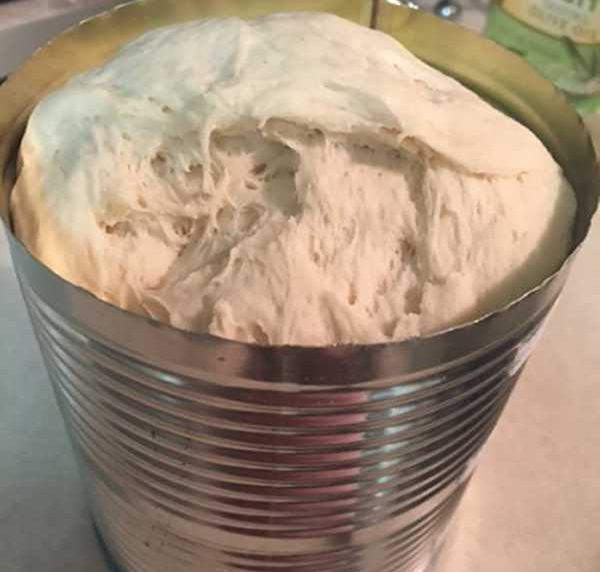
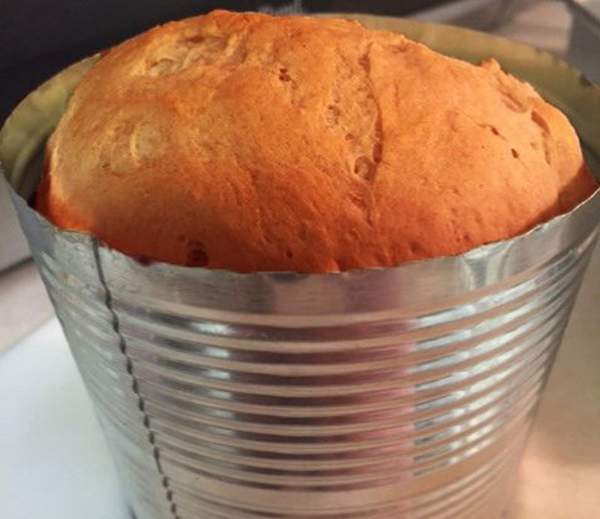
Once it has a golden brown top, the bread is finished and sounds hollow when tapped. Allow it to cool before removing, slice and enjoy!
So why go through the trouble of making homemade bread? Apart from the fact it tastes fresher, it could also save some money. The average bread price for a single pound loaf is around $1-2.00. The price of this recipe is around $0.50 depending on the ingredients that have been selected to use and has only six ingredients. A one-pound loaf of white bread can cost as little as $1.00 but may have as many ingredients as double. It requires a bit more time to make bread, but the entire process requires only about half an hour of active baking.
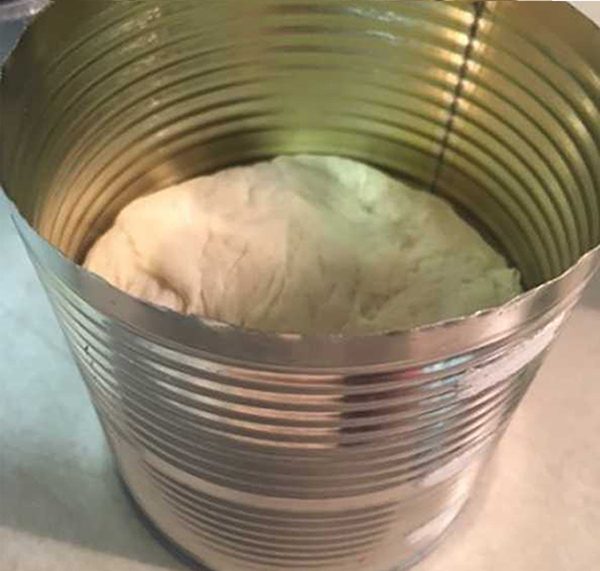
Baking bread in a can also has several benefits, rather than a loaf pan. First, it creates less of a crust — perfect for younger children who seem to despise the crispy exterior (or picky adults!) of bread. Secondly, for the environmental impact recycling cans have. Approximately half of recyclable cans are thrown into the garbage which requires the creation of new materials to make more. The process of making new metal for cans is a major contributor to greenhouse gasses, and needs a great deal of energy. This can be easily reduced through recycling of old materials, which can be done almost unlimited times. It may seem like a little thing to do, but when you add up, repurposing cans can actually make a difference.
Never tasted so good at saving money and the environment — making bread in a can is an easy and delicious way to achieve both!
Related: How to Make Hardtack Biscuits With Over 100 Year Shelf Life


")


")


