


It is possible to distill water at home using simple methods, even without any power equipment.
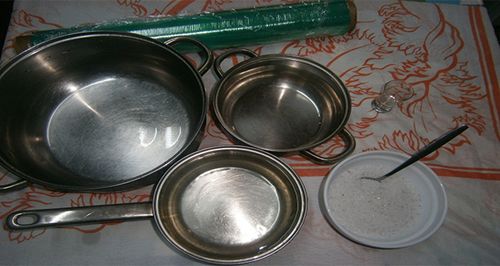
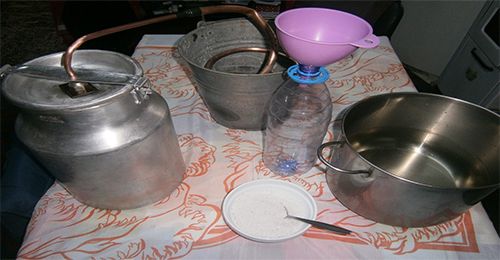
First, gather everything that you will be using:
- A large pot
- A medium-sized pot (Make sure this pot fits inside the larger one.)
- A mixing bowl (You can also use the large pot.)
- Salt (for the test)
- Plastic wrap
- A shot glass (or something with similar weight)
- And, of course, water
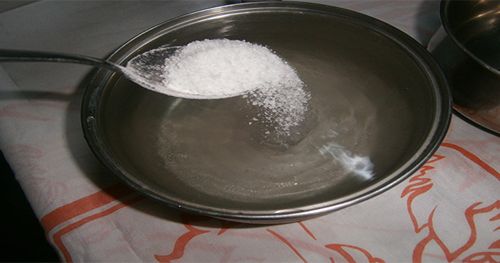
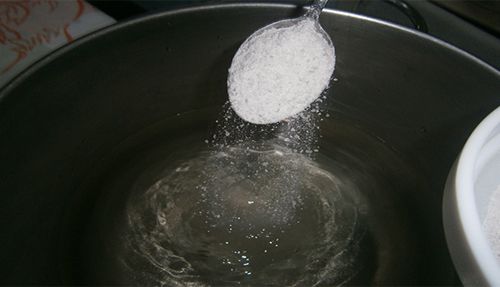
Step One: Salting the Water
This step speaks for itself. Grab your mixing bowl, and fill it with water; add as much salt as you want. I used unfiltered salt from a salt cave near me and added 4 tablespoons of it into the water.
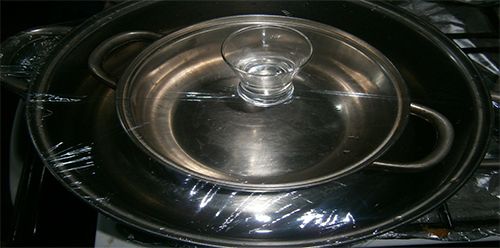
Step Two: Getting Ready for Distillation
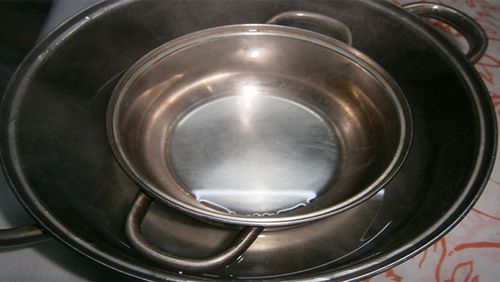
Pour the salted water into the large pot, and place the smaller pot inside it. You can see there is still some salt at the bottom.
 Cover the top with the plastic wrap, and make sure that it’s sealed tightly. You can also use a rubber band to keep the plastic wrap in place. Place the shot glass on top of the plastic wrap right in the middle of the small pot. This will be the spot where all the clean water gathers and falls into the pot.
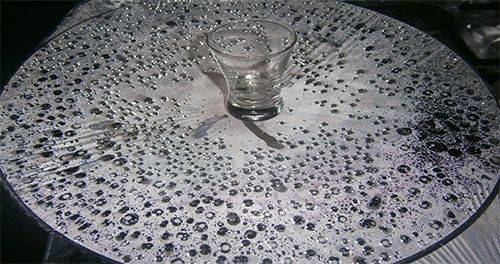
After this, you can start heating up the salted water until it starts to turn into steam and fall into the smaller pot. After about an hour, you should be able to see the water droplets forming on the plastic wrap depending on the strength of your flame.
After you have enough water, you can take it off the stove and unwrap it. You should find some water inside the middle pot that is drinkable and clear.
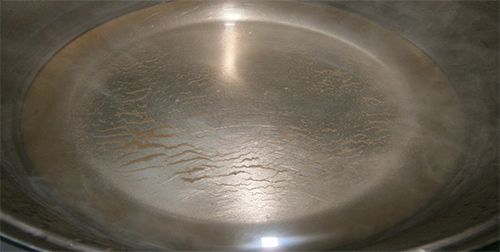
I was left with this dirty, salted water (which I could’ve turned into clear water to the last drop but decided not to for the purpose of demonstration).
Related: What Is The Best Way To Store Water For SHTF?
Now that you know how easy distillation can be, I will show you how you can make a distiller with a few items:
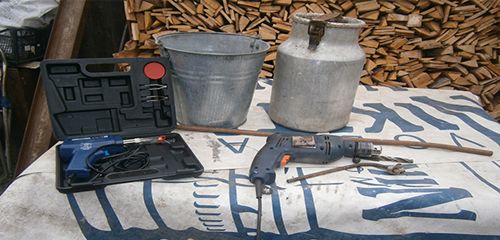
- A copper pipe and a smaller copper pipe piece (with one end flanged)
- A drill and a drill bit (The drill bit should be the size of the diameter of the copper pipe.)
- A bucket
- A milk can that locks tightly
- A soldering iron and solder
- A flat-faced screw and a wrench that fits it
- A flare nut and a wrench that fits it
- A piece of leather or anything else that will stop the water from escaping
- Tape
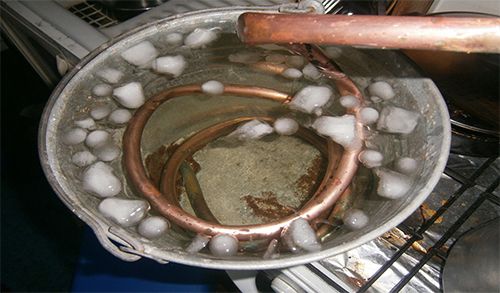
 Step One: Creating the Water Cooler
 Step One: Creating the Water Cooler
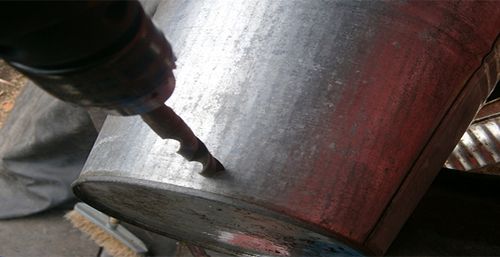
First, start off by making a hole at the bottom of the bucket. This will be where your clean water will dribble out. I also did the same with the lid of the milk can and sealed it with a drill bit that was the size of my smaller copper pipe.
After that, grab the copper piping, and bend it into a something that resembles a spring.
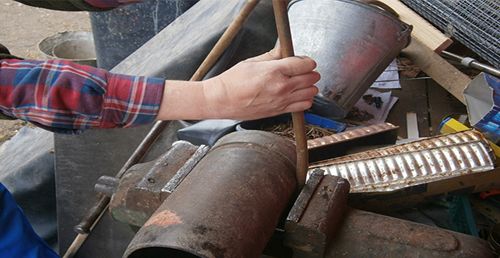
I used an old tank shell that I found at my grandparents’ house.
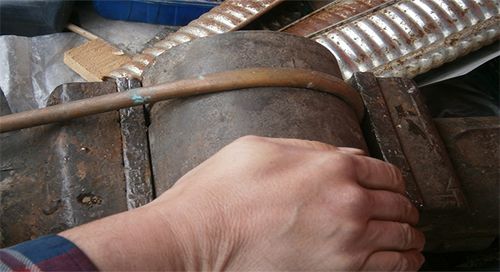
You can fill it with sand or dirt, and plug both ends to make sure you don’t break the pipe while bending it. This will avoid any breakage which can occur.
Bend straight on one side so it can come out of the hole you’ve just made in the bucket. Do the same with the top half of the hole, but turn it the opposite direction of the hole so it points away.
I started soldering it onto the bucket after that, to make it permanent. I did the inside out first then the outside.
Step Two: Connecting Everything
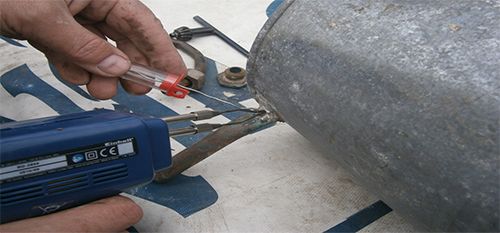
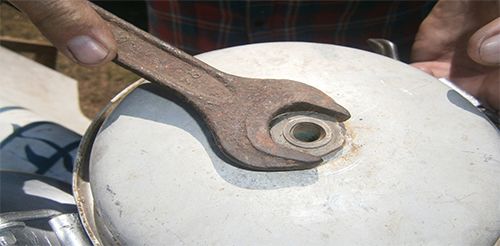
First, put the flat-faced screw through the head of the milk can and place the leather on top.
After that, grab the small copper pipe and bend it into a J shape.
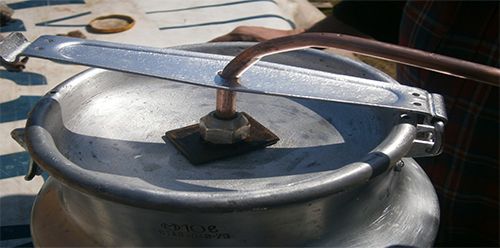
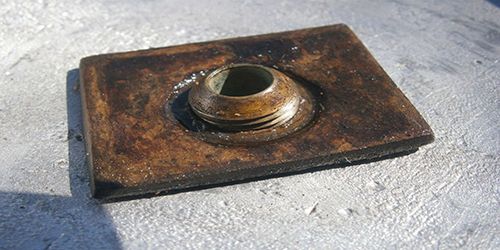
Push the flare nut through the piping, and then push the pipe through the milk can’s seal. You are ready to finish it up. Hold onto the flare nut with a wrench, and start twisting the flat-faced screw with another wrench.
Do the same for the flare nut but in reverse. You are now ready to connect the two parts together.
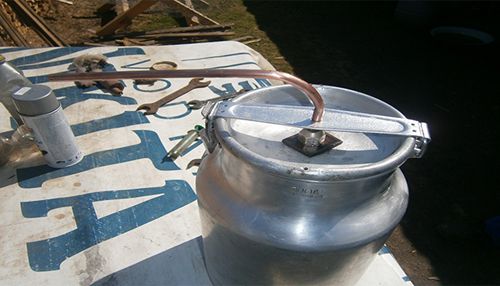
Wrap the outside of the smaller pipe until it locks tightly with the copper piping. Make sure they are a tight fit so no water can escape. Cover it with tape to finish the job. And now you can try it out.
Related: The Easiest And Cheapest Way To Filter Water With Shungite
Step Three: Testing Your Distiller
First I grabbed a pot that I used for mixing the salted water. (You can mix it in the milk can too.)
 After that, I filled it with water and started to add the unfiltered salt from a salt cave near my home until I felt it was enough.
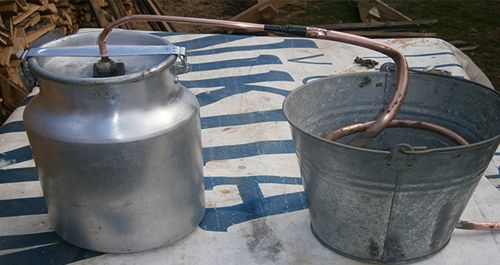
Pour the water in the milk can, and place it on the stove to heat up. While that’s happening, fill the bucket with cold water. (Adding ice to the water will help with the process.)
Put down something that will catch your clean water under the end of the copper tube. I used a bottle and a funnel to catch it. After that, wait for roughly 45 minutes, and the water inside the milk can will start to condense.
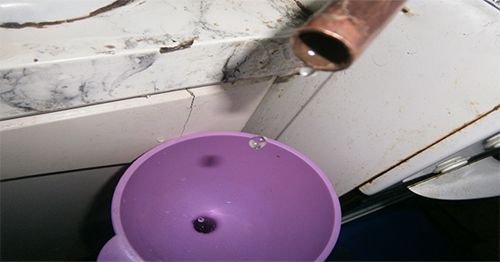
The water within the milk can will evaporate through tubing, leaving the salt in the tank and turning from the coldness of the copper piping back into water. It goes down the pipe until it reaches its final point. Before that, you’ll have some clear, drinkable, and delicious water for yourself.


